
How to Waterproof a Duffel Bag
A duffel bag can be made extremely rugged and built to last. However, even high-quality ones, such as Beckel’s canvas duffel bags, which contain a water-resistant agent, still leave the natural canvas untreated and somewhat vulnerable to the elements.
So, your duffel bag is not entirely waterproof. In that case, it’s worth considering adding an extra protective waterproof treatment to prevent mold and mildew caused by condensation, repel rain along with mud and dirt, protect the gear it carries, and keep it clean, thereby extending its life for many years to come.
Want to waterproof your duffel? Follow our handy guide and learn how to waterproof a duffel bag.
Waterproofing a Duffel Bag: A Step-by-Step Guide
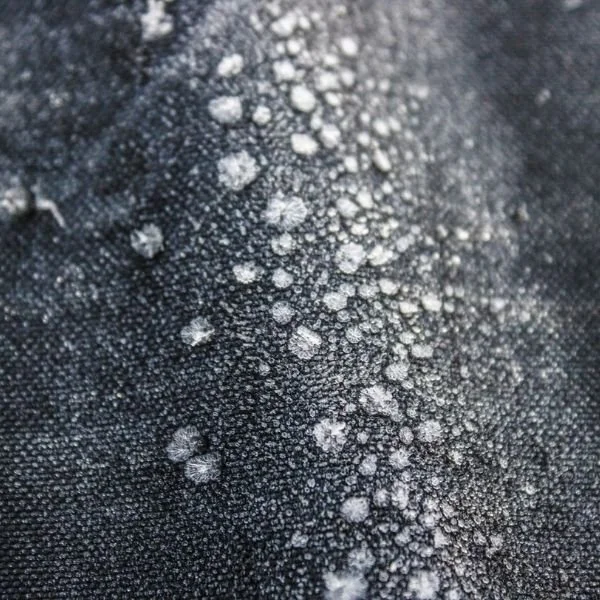
Step One: Clean Your Duffel Bag
Before applying your waterproofing treatment, ensure your duffel is clean and free from dirt and grime. This step is especially important for a duffel you’ve owned for a while, but it's just as true for brand-new duffels that might have a few loose fibers and potentially dust from storage. Skipping this step could make or break how well your treatment adheres to the duffel material.
We’ve already provided a thorough guide on cleaning canvas bags. Follow the same steps to prepare your duffel bag for its waterproofing treatment, including cleaning stains and allowing it to dry in the sun.
Step Two: Choose a Waterproofing Treatment Method
When it comes to choosing a waterproofing treatment for your duffel, you have two options: Wax vs. spray.
Waterproof Wax is traditional and ideal for canvas duffels. It adds to their handcrafted, weathered look and offers long-lasting protection. However, keep in mind it can darken the fiber colors and stiffen the material (for better or worse). The first application requires effort, elbow grease, and time; however, touch-ups can be done on the fly.
Wax, ideally a mix of paraffin and beeswax, is most common. You can buy wax bars (like this Otter Wax Fabric Bar) or melt wax bars or creams, apply, and dry.
Bear Grease is a traditional, wax-like treatment. Hunters render bear fat to act as a salve for everything from arthritis to mustaches. It also conditions and waterproofs leather items, including boots, mulepacks, and – you guessed it – duffel bags. While bear grease is historically accurate, it can smell and attract unwanted pests. A modern variation is this Foggy Mountain BearGuard.
Waterproof Sprays offer an easier and faster treatment method. Unlike some wax, sprays are not limited to canvas. They can also be applied to a wide range of materials, including leather, suede, denim, felt, and nylon/polyester. While relatively easy to apply, the disadvantage is that you’ll need to reapply more frequently than a wax treatment.
Dry Guy is a concentrate that you dilute and spray onto canvas, including canvas tents. It offers long-lasting protection and doesn't yellow or stiffen fabric.
NikWax is a wash-in waterproofer. However, depending on the duffel’s materials, you might want to wash it sparingly. Instead, use the spray-on Nikwax TX.Direct waterproof treatment.
Starbrite Spray is a tough, marine-grade waterproof treatment often used on sails, awnings, tarp covers, and other similar applications.

Step Three: Apply Your Waterproof Treatment to Your Duffel Bag
Know what you want to use? Great! Now, here are the separate steps to apply both a wax and a spray method. Of course, always abide by the product instructions, but in general, they go on as follows:
The Waxing Method
Using a double boiler on the stovetop or even a microwave, warm the wax block gradually (never boil the wax, as this could damage your duffel.
Apply the warm wax to the canvas with a soft brush, spreading it evenly and overlaying each stroke to create a smooth finish.
Using your hands, massage the wax into the canvas material, ensuring it penetrates deeply into the fabric and around crevices, zippers, buttons, and other areas.
Heat the wax with a hair dryer or heat gun to melt it even deeper.
Add a second layer of wax if you like, repeating the above steps. Double-layer the duffel bottom for extra durability, at the very least. For a fully waterproof duffel, wax and dry the interior too.
Allow to dry
Tip: Apply the wax coating if you don’t want the material to be too stiff. If unsure, remember: you can start light and see how it stiffens when dry, then apply a second coat if desired.
The Spraying Method
Give the can a good shake.
Apply the spray evenly in a sweeping motion, roughly 6 inches from the duffel bag.
Allow the duffel bag 24 hours to fully air dry, in a well-ventilated space (but without wind or particles floating about)
Apply a second protective coat of spray if desired, and repeat the drying process.
Pay Attention to Zippers and Seams
Last but not least! Regardless of the waterproofing method you use, be sure to seal the seams and zippers thoroughly. Even professionally waterproofed duffel bags have weak spots where water seeps in, and these are them!
SeamSealer and Tear Mender is best known for sealing the stitching and seams of tents, rainflies, and even backpacks. So, it’s safe to say it’ll work on duffel bag zippers and seams as well.
Take a small brush or applicator to apply the sealer to reinforce stitched areas.
Rub a thin layer of wax along the zipper teeth, zipping back and forth to ensure it's well distributed.

After that, test your duffel bag. Sprinkle water droplets or even spray it down and watch water roll straight off like a duck’s back!
That’s it! Your duffel bag is now waterproofed and ready for wet and muddy adventures!